

Crossed roller bearings are among the most capable precision components available for applications that must handle radial loads, axial loads and tilting moments at the same time. Their cylindrical rollers are arranged at 90 degrees to one another in an alternating pattern, which gives them high rigidity in a very compact envelope. That same design, however, makes them far less forgiving than a conventional ball bearing during assembly. A mounting error that would be harmless in a deep groove ball bearing can distort the rings, damage the raceways, or destroy the preload of a crossed roller bearing. This guide explains, step by step, how to install crossed roller bearings correctly, from preparation and handling through mounting, preload setting, lubrication and final verification.
Understand the Bearing Before You Touch It
Installation begins with comprehension, not with tools. A crossed roller bearing is a precision assembly in which the rollers are held apart by spacer retainers or a cage, and the rings are hardened and ground to tight tolerances. Because the rollers cross each other, the bearing can carry loads in all directions from a single mounting position. It also means the rings must remain perfectly parallel and square, since any tilt or deformation immediately concentrates stress at the ends of the rollers.
Before starting, confirm exactly which type you have. Common variants include the standard type with a split outer ring, the high-rigidity type with a split inner ring, and thin-section versions used in robotics and rotary tables. Each type is mounted in a specific direction relative to the load. Splitting the wrong ring or reversing the mounting orientation will reduce capacity dramatically. When ordering from a manufacturer such as PRS, the drawing and part number will indicate the intended mounting direction and the allowable fit tolerances, and these documents should be read before the crate is opened.
Pre-Installation Preparation
Inspect the bearing and the mating parts
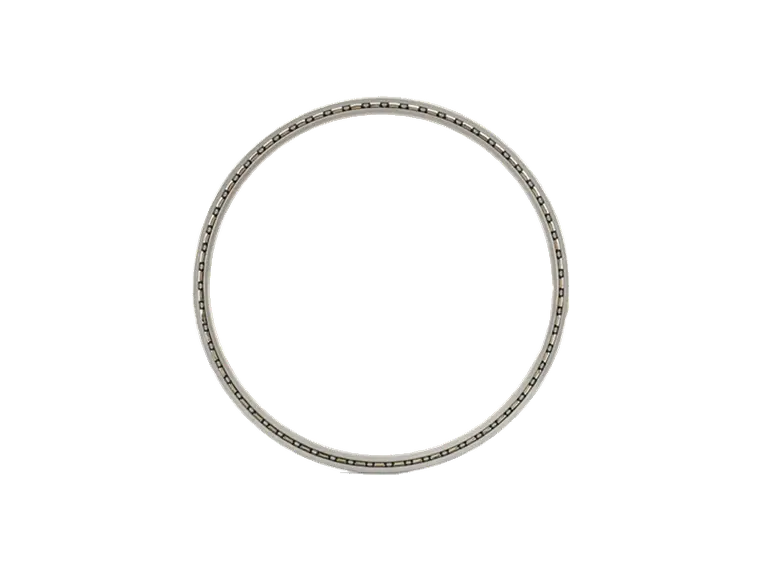
A new bearing is not automatically a perfect bearing after shipping. Inspect the packaging for impact damage, then rotate the bearing slowly by hand and feel for roughness, binding or uneven resistance. Check that the part number on the label matches the drawing. Any bearing that has been dropped should be set aside for re-inspection rather than installed.
The housing bore and shaft seat deserve the same attention. Verify diameter, roundness, cylindricity and shoulder perpendicularity. In most crossed roller bearing arrangements, the rotating ring is mounted with a slight interference fit while the stationary ring has a small clearance, so that the fit prevents creep without crushing the raceway. Measure the actual bore and shaft dimensions with a micrometer or bore gauge rather than trusting the nominal size on the drawing. A housing that is out of round will transfer its shape directly to the bearing ring and will show up later as torque variation and noise.
Cleanliness and handling
Work in a clean, dry area with a stable temperature. Precision bearings should remain in their original packaging until the moment of installation. Do not wash a pre-lubricated bearing in solvent, because this removes the protective oil and the factory grease charge. Wear lint-free gloves; skin oils and perspiration are mildly acidic and will promote corrosion on polished raceways. Keep measuring tools, mounting sleeves and fixtures clean, and cover any open housing while the bearing is being prepared.
Step-by-Step Mounting Procedure
Determine which ring rotates
The general rule is that the interference fit goes on the ring that rotates relative to the load, while the stationary ring may be fitted with a light clearance. Applying this rule incorrectly is one of the most common causes of premature failure, because the ring that is supposed to be stationary will creep and wear the seat surface.
Seat the bearing without transmitting force through the rollers
- Position the bearing squarely on the shaft or in the bore. A tilt of even a fraction of a degree can score the seat and jam the bearing before it is fully seated.
- Apply mounting force only to the ring being fitted. Press force must never travel through the rolling elements from one ring to the other, as this brinells the raceways and leaves permanent indentations.
- Use a press, an arbor press with a proper driver, or a mounting sleeve that contacts the full circumference of the ring. If a mallet is unavoidable, use a soft-faced one and strike the sleeve, never the bearing directly.
- For larger bearings with a tight interference fit, thermal mounting is preferable. Heat the ring uniformly in a clean oil bath or with an induction heater, following the temperature limit given by the manufacturer, and slide it into place quickly and squarely. Never heat a bearing with an open flame.
- Check squareness as the bearing seats, and confirm that it reaches the shoulder fully. A bearing resting partially on a shoulder corner will tilt once the bolts are tightened.
Tighten clamping bolts in a controlled sequence
Where the bearing is clamped by flanges or end covers, tighten the bolts in a diagonal, cross-shaped pattern in two or three progressive stages, using a calibrated torque wrench. Tightening around the circle in sequence, or tightening one bolt fully before moving on, tilts the flange and distorts the outer ring. The result is a bearing that feels tight in one position and loose in another. Always use the torque value specified for the flange and bolt grade; over-tightening does not improve rigidity, it simply deforms the ring.
For split-ring designs, keep matched components together. Inner rings, outer rings and roller assemblies are often selectively assembled at the factory, and mixing parts from two different bearings will compromise the internal clearance.
Setting Preload and Clearance
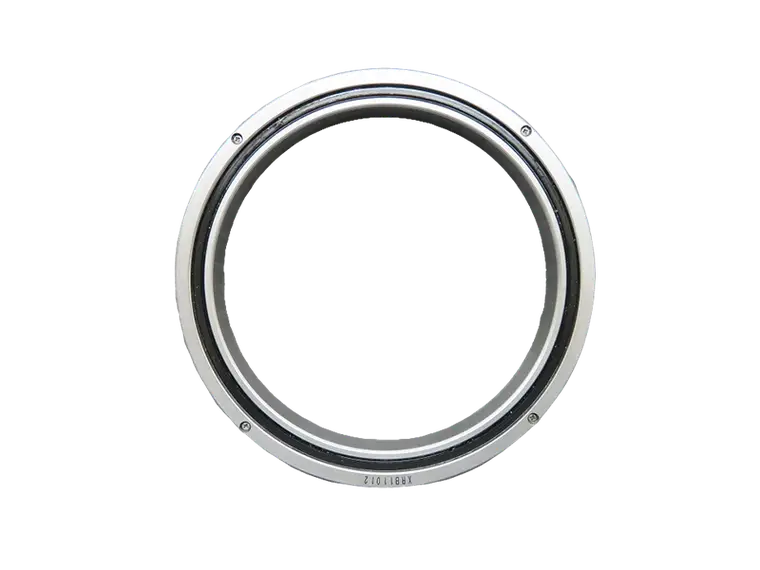
Crossed roller bearings are normally supplied with a small internal clearance, and the application determines whether a light preload is required. Preload increases rigidity and eliminates play, which matters in machine tool tables, robot joints and indexing equipment. It also raises friction torque and operating temperature, so it must be measured, not guessed.
Measure axial play with a dial indicator while applying a light, controlled axial force in both directions. Adjust the setting using shims, by grinding a spacer to the correct length, or with a threaded locknut. When a preload is specified, verify it by measuring starting torque or by the drag feel on a smooth rotation. Excessive preload is far more damaging than slight clearance: it generates heat, accelerates lubricant breakdown and shortens bearing life dramatically. Record the measured value so the opposite side of a paired arrangement can be set to match.
Lubrication and Sealing
Apply the specified lubricant in the specified quantity. Grease is appropriate for most moderate-speed applications, while oil lubrication or oil-air systems suit high-speed or high-temperature duty. Overfilling a bearing cavity with grease causes churning, heat build-up and eventual leakage past the seals. Underfilling leaves the raceways starved during the first critical minutes of running.
Protect the installation with the correct sealing arrangement. Labyrinth seals are preferred where speed and temperature are high, while contact seals offer better protection against dust and coolant. Verify that the seal does not rub on a rotating component and that the seal lip is correctly oriented toward the contaminant source.
Post-Installation Verification
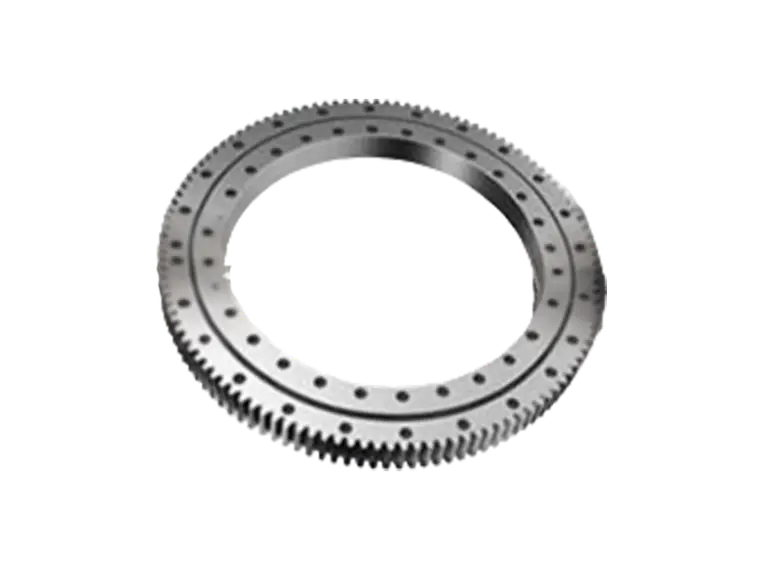
Before connecting the drive, rotate the assembly by hand and listen. Rotation should be smooth and quiet, with consistent resistance through a full revolution. Any tight spot indicates distortion, contamination or incorrect seating. Then measure radial and axial runout at the mounting face, and confirm that the measured values fall within the tolerance stated on the drawing. During the first run, monitor temperature and vibration; a gradual, moderate temperature rise that stabilizes is normal, while a continuous climb signals excessive preload, insufficient clearance or inadequate lubrication.
Common Installation Mistakes to Avoid
- Driving a bearing onto a shaft with a hammer and no mounting sleeve.
- Applying press force through the rolling elements instead of the fitted ring.
- Mixing inner rings, outer rings or roller sets from different bearings.
- Tightening flange bolts sequentially instead of in a diagonal pattern.
- Installing in a dirty environment or handling raceways with bare hands.
- Setting preload by feel instead of measuring axial play or starting torque.
- Over-greasing the cavity and then blaming the seal for leakage.
Frequently Asked Questions
Can a crossed roller bearing be installed with a clearance fit on both rings?
Only in low-precision, low-load applications, and even then it is risky. A clearance fit on both rings allows the bearing to creep under load, which wears the seat and changes the internal clearance over time. Use an interference fit on the rotating ring whenever the application demands accuracy or rigidity.
How do I know whether the bearing needs preload?
The requirement comes from the application. Rotary tables and machine tool axes usually need light preload to maintain stiffness under cutting forces, while driven wheels and conveyors generally run with a small clearance. The bearing drawing or the supplier's technical documentation will state the recommended range.
Why does the bearing feel tight after the flange bolts are tightened?
This almost always indicates ring distortion caused by uneven bolt tightening, a burr on the flange face, or a housing bore that is out of round. Loosen the bolts, inspect the mating surfaces and the seating shoulder, then retighten in a diagonal pattern with a torque wrench.
Can PRS supply installation guidance for a specific application?
Yes. Reputable suppliers provide mounting drawings, fit recommendations and preload data with the bearing. Sharing the shaft and housing dimensions, load direction and speed with the supplier before delivery avoids most installation problems, because the fit and clearance can be specified for the actual duty rather than for a generic case.
Conclusion
Correct installation of a crossed roller bearing is a sequence of controlled steps: understand the design and mounting direction, inspect the bearing and the mating surfaces, seat it without transmitting force through the rollers, clamp it evenly, set preload by measurement rather than by feel, lubricate it properly and verify the result before production running. Each step protects the precision that the bearing was manufactured to deliver. When the mounting conditions are documented and the fit, preload and lubrication values are taken from the manufacturer's data, a crossed roller bearing will deliver the rigidity, accuracy and long service life it was selected for.